
You need the "Owner" role and invoicing must be enabled before you can create a business entity.
You can create a business entity from any profile or team — you don't need to switch to a specific one first.
A business entity represents the legal identity of your business on invoices. It stores your company name, address, tax details, and invoicing preferences. Follow the steps below to create one.
How to Create a Business Entity
Step 1: Go to the Settings Page
Click Settings in the bottom-left of the sidebar, or click your profile picture and select Settings.
Step 2: Navigate to Business Entities
Scroll down to the Billing section and click on Business Entities to open the business entity page.
Step 3: Create a New Business Entity
Click the Create button to open the business entity form. The form is split into the following sections:
Section 1: Entity Information

Fill in the basic details about your business:
- Company Name — The registered name of your business.
- Phone Number for Invoice — The phone number that will appear on your invoices (often a customer support number).
- Billing Contact Email — The email address displayed on all invoices and used as the reply-to address for transaction-related communication.
Section 2: Entity Address

Enter your business address. This address is used for invoice display and tax calculations. The country you select will also determine which payment gateways are available to your business.
You can optionally provide a different tax address if your tax registration address differs from your business address.
Section 3: Tax ID for Invoice Display

Provide the tax identifiers that will appear on your invoices:
- VAT Number — Your VAT registration number.
- Registration Number — Your company registration number.
Section 4: Invoicing Mode
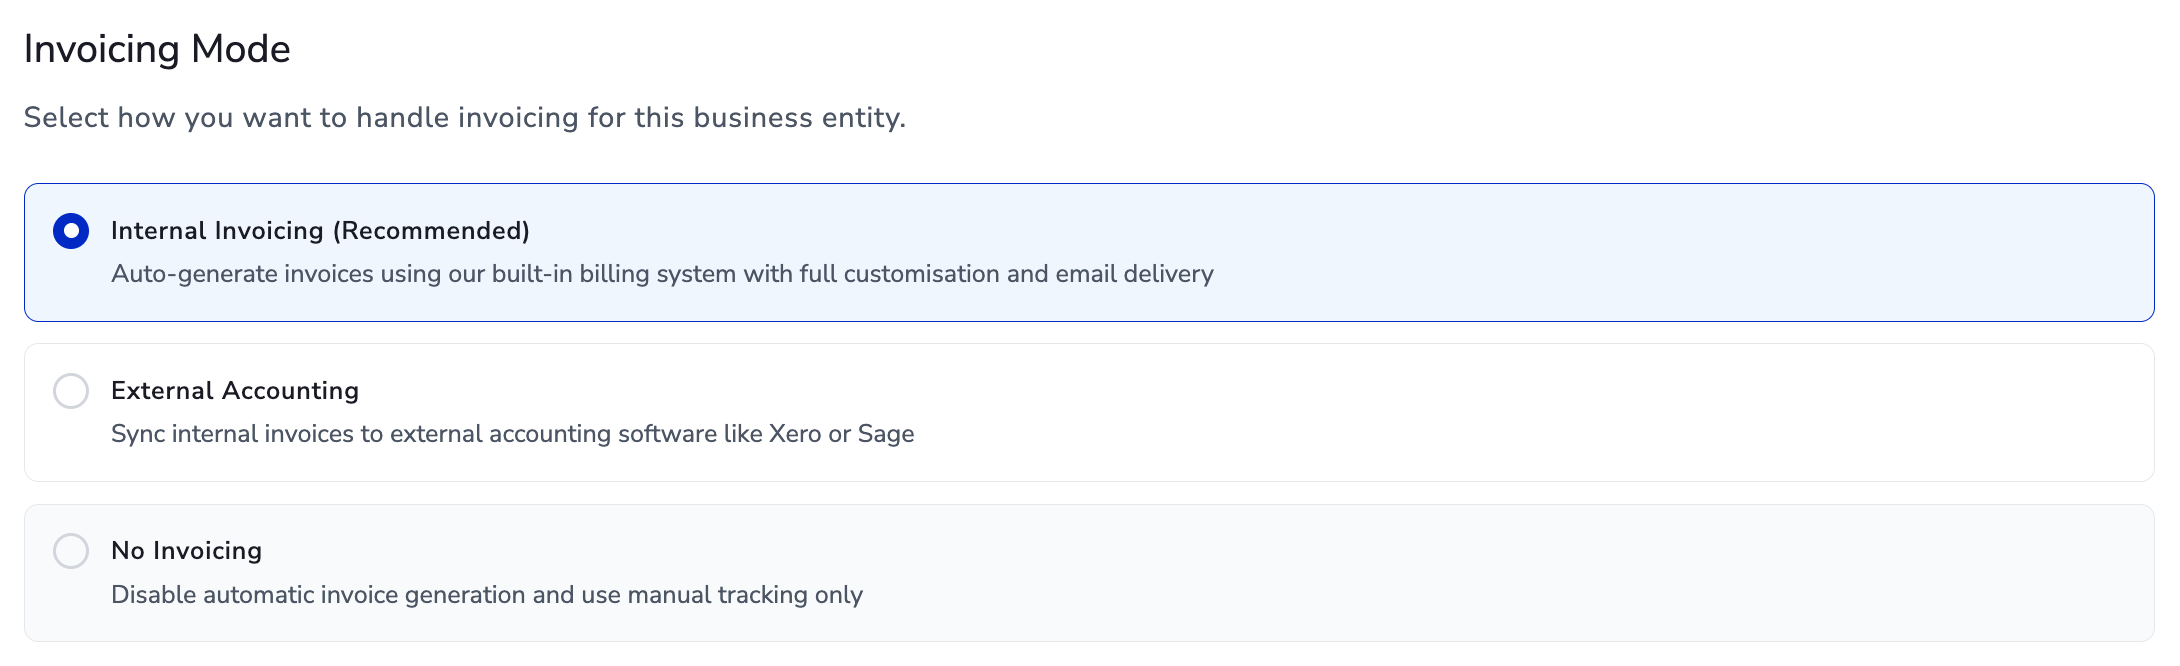
Select how you want to handle invoicing for this business entity:
- Internal Invoicing (Recommended) — Auto-generate invoices using the built-in billing system with full customisation and email delivery.
- External Accounting — Sync internal invoices to external accounting software like Xero or Sage (Coming Soon).
- No Invoicing — Disable automatic invoice generation and use manual tracking only.
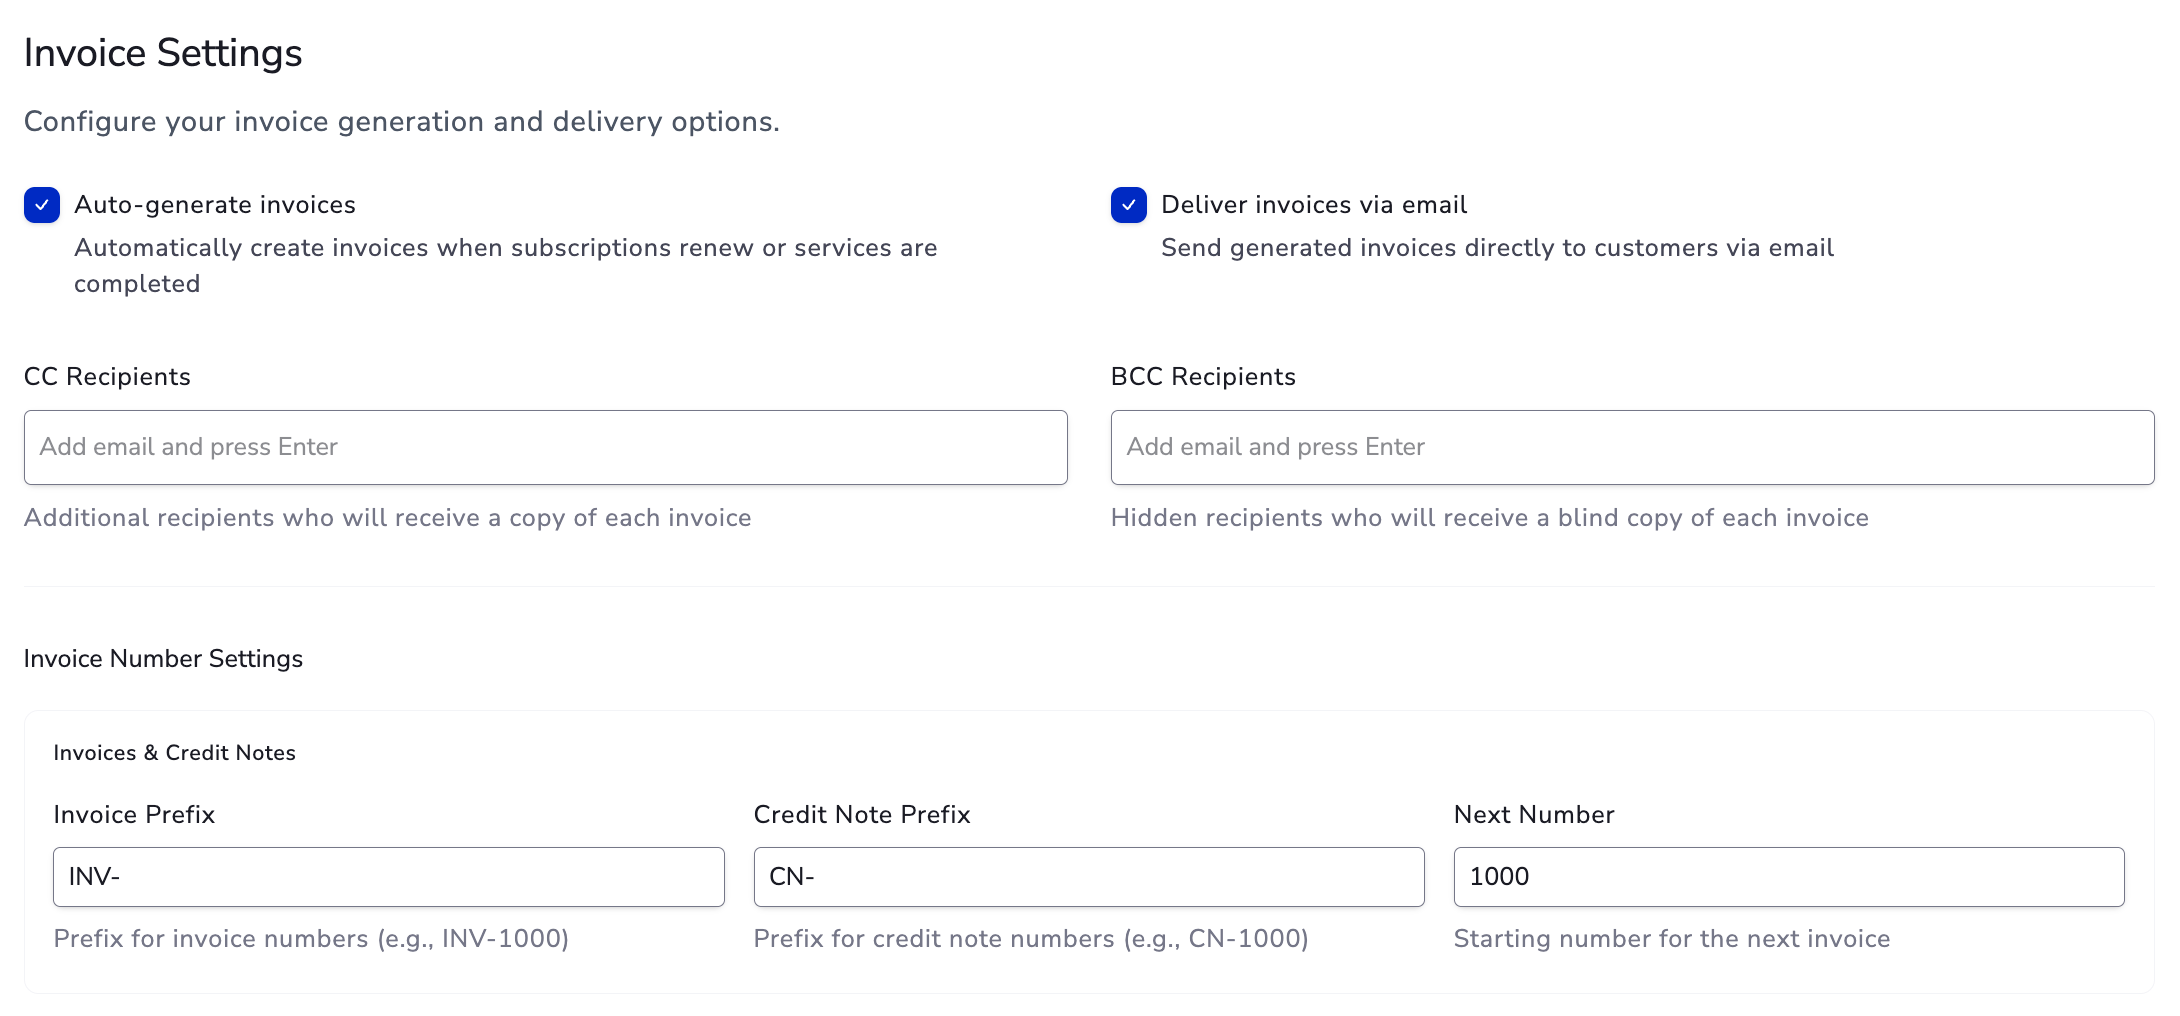
If you select Internal Invoicing or External Accounting, an additional Invoice Settings section will appear where you can configure automatic invoice generation, email delivery, CC/BCC recipients, and invoice number prefixes.
Section 5: Subscriber Location Countries

Select the countries for which this business entity will be used. You can search for countries by name or code, add them individually, or click Add all to select every available country.
Step 4: Save Your Business Entity
Once you have filled in all the required details, click the Create button at the bottom of the form to save your business entity.