
You need the "Owner" role in order to add a payment gateway.
Before you can add a payment gateway to your system, the business entity feature must be enabled for your organisation. Enabling a business entity unlocks the ability to configure payment gateways, generate invoices, and send them to customers.
Payment Gateway Overview
Payment gateways are responsible for processing transactions and distributing funds into your merchant bank account. Below is a summary of key concepts for configuring payment gateways in MyPetParlor App.
Gateway Configuration
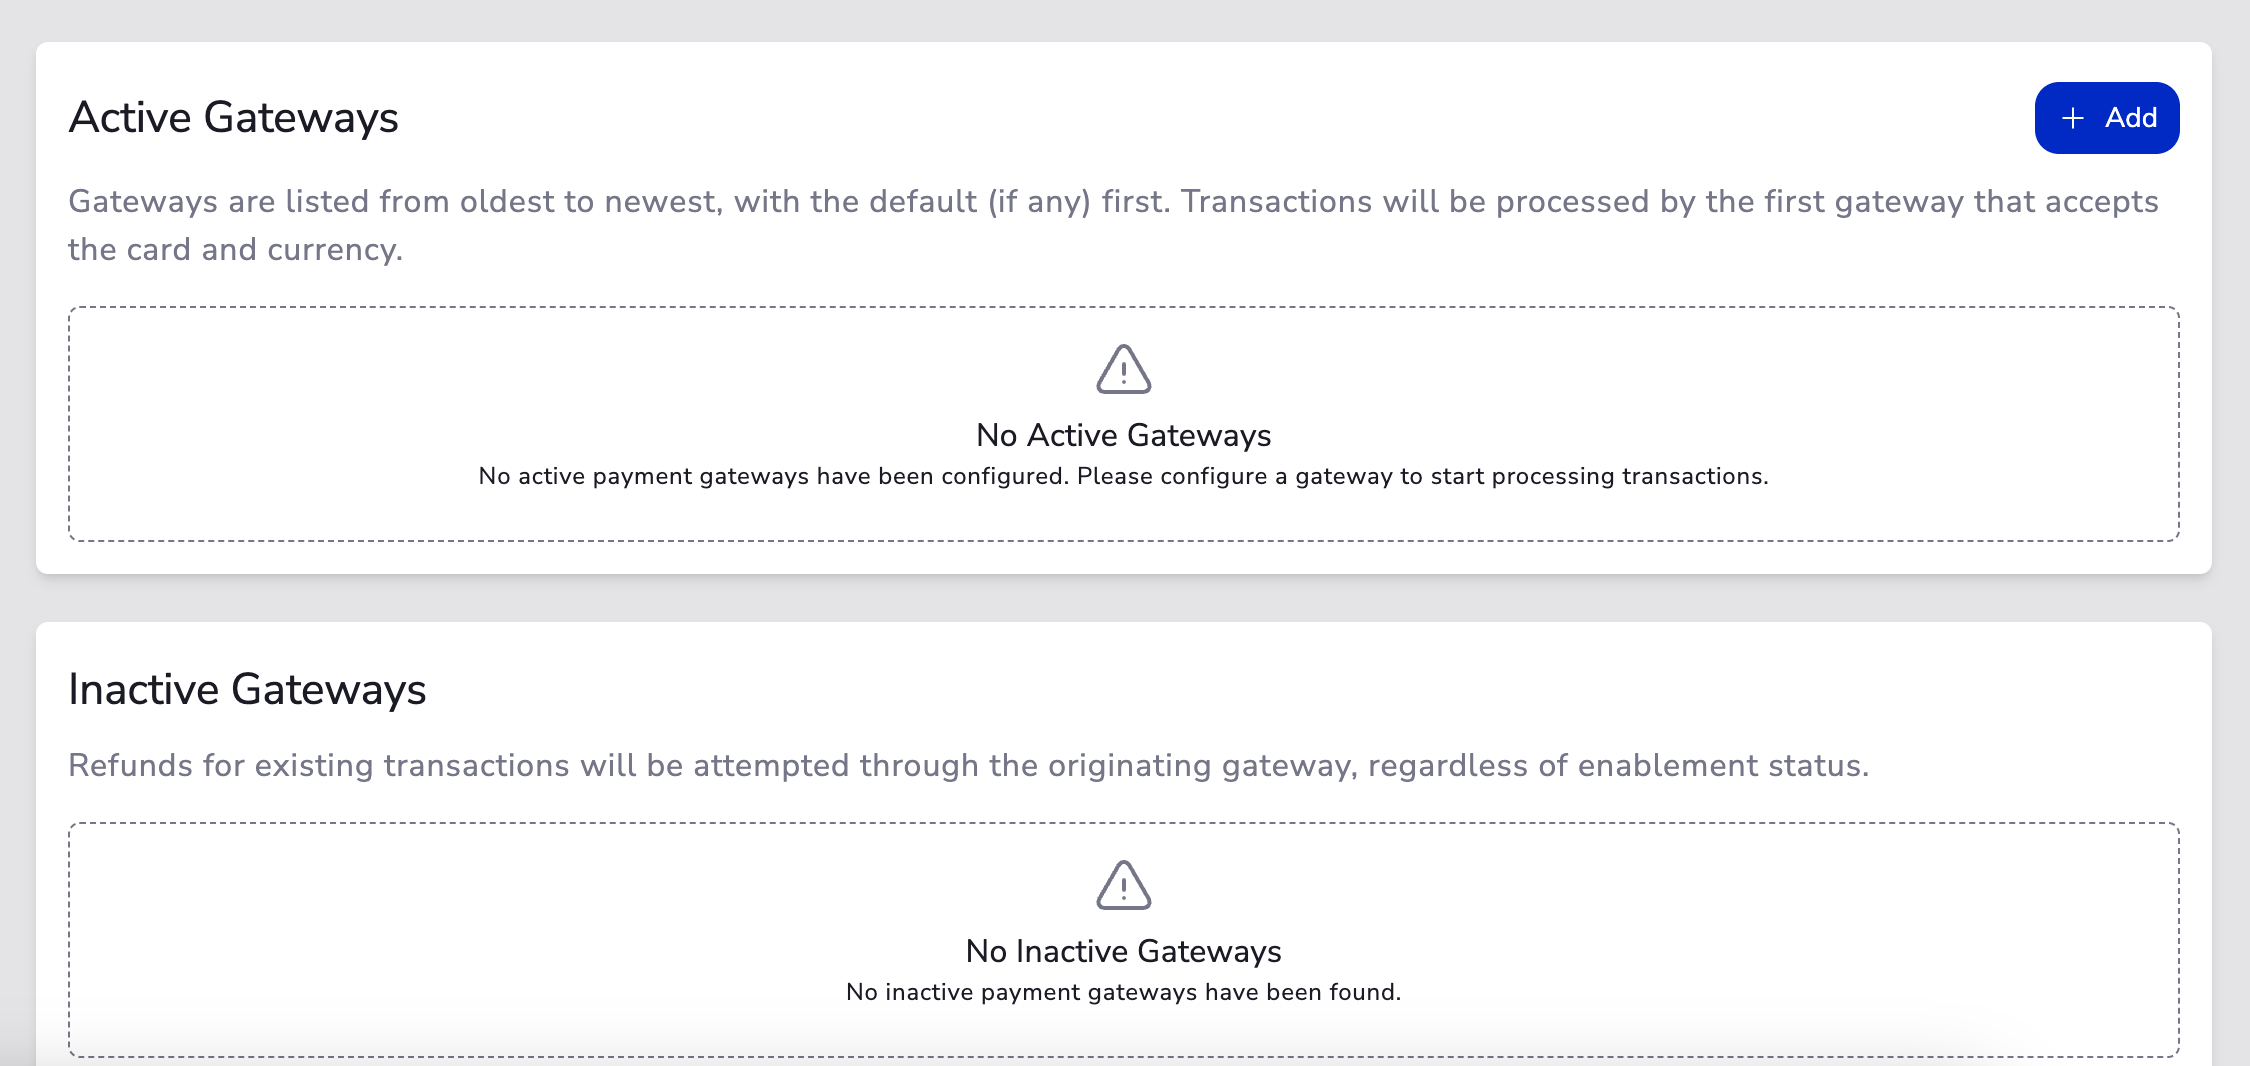
- Navigate to your gateway configuration page and click Add Gateway.
- Select your payment gateway (ensure your company country settings match in your Business Entity).
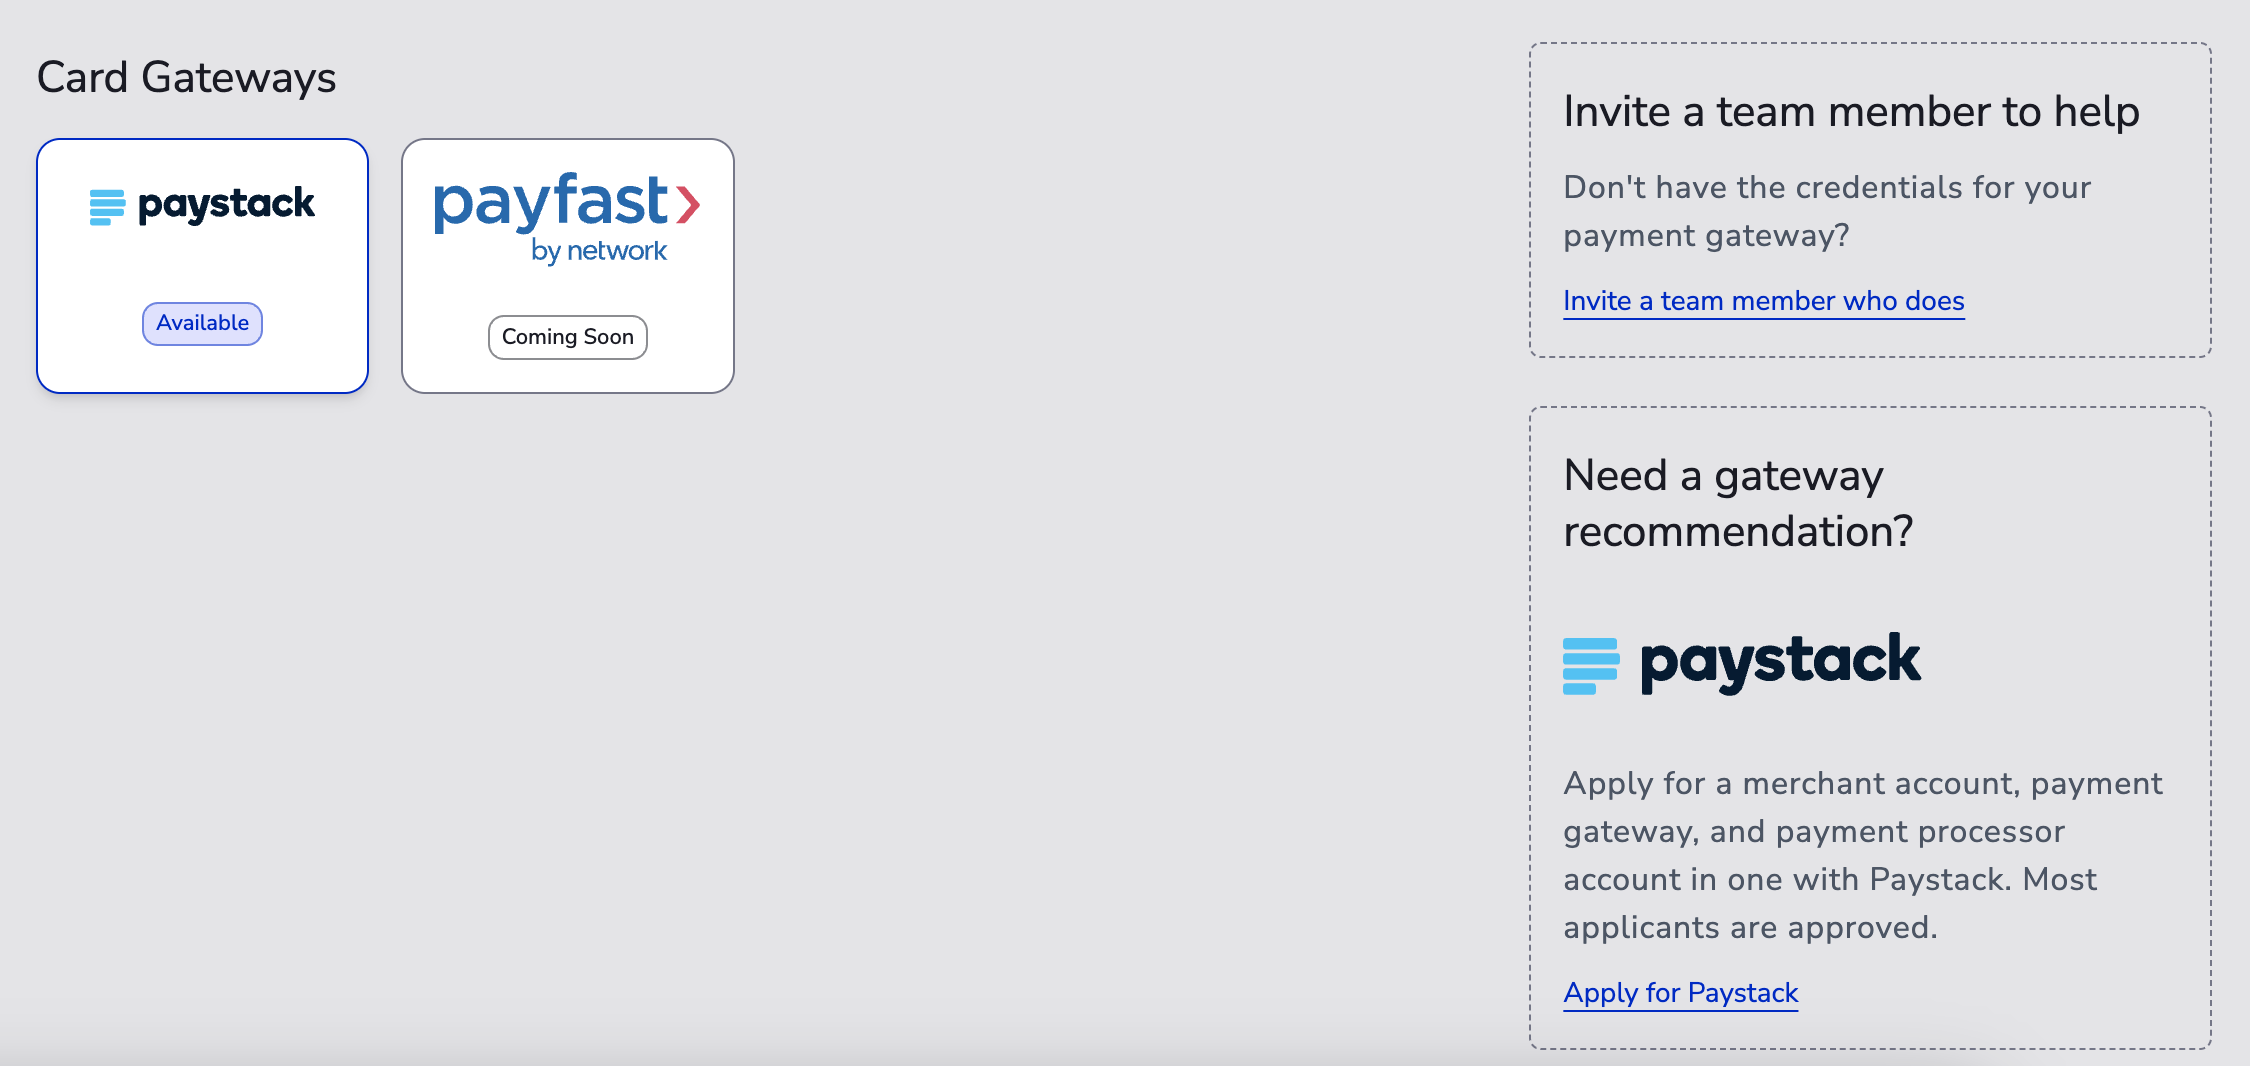
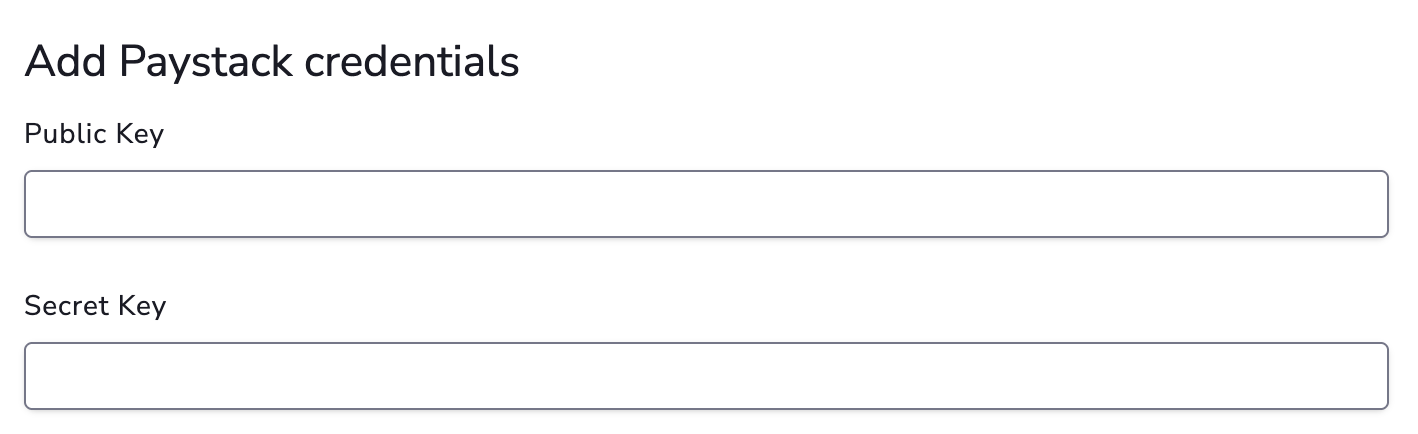
- Enter your gateway API credentials (these are typically different from your virtual terminal login credentials).
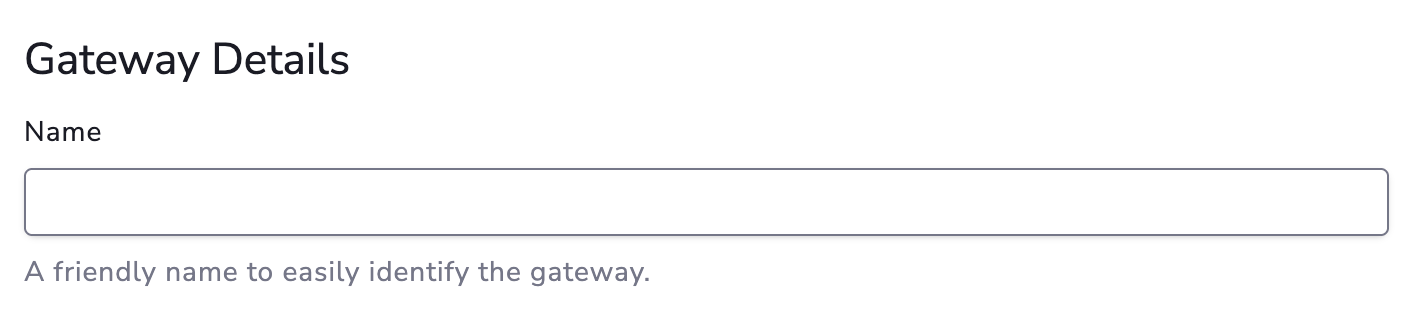
- Add your gateway details such as a display name and description to help identify this gateway.
- Set the gateway status to Enabled or Disabled. By default, a gateway is set to Enabled when first added.

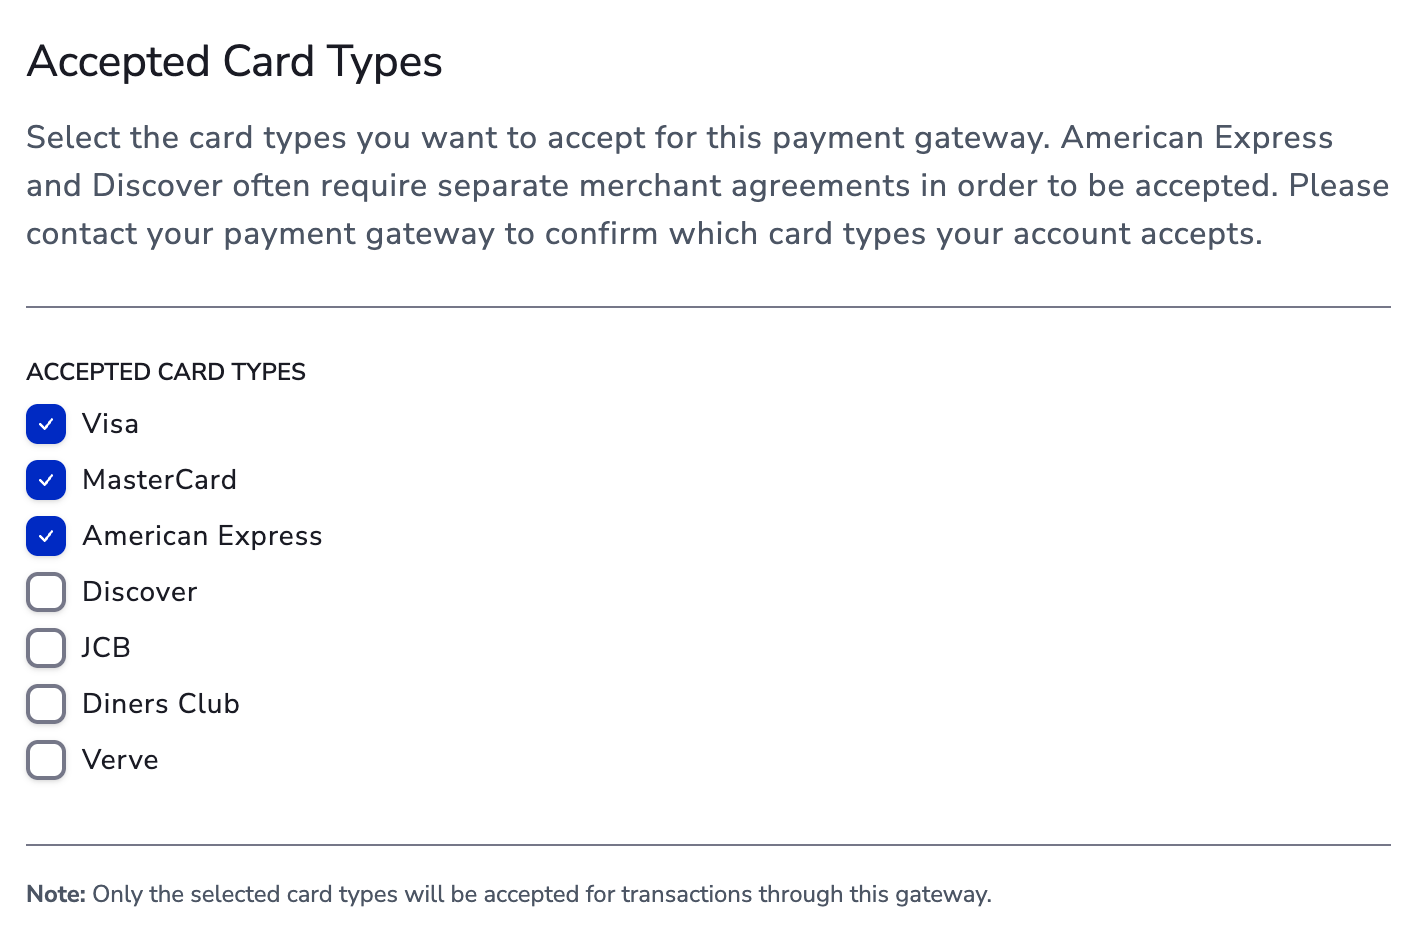
- Set your accepted card types — make sure they are also supported and enabled on your gateway account.
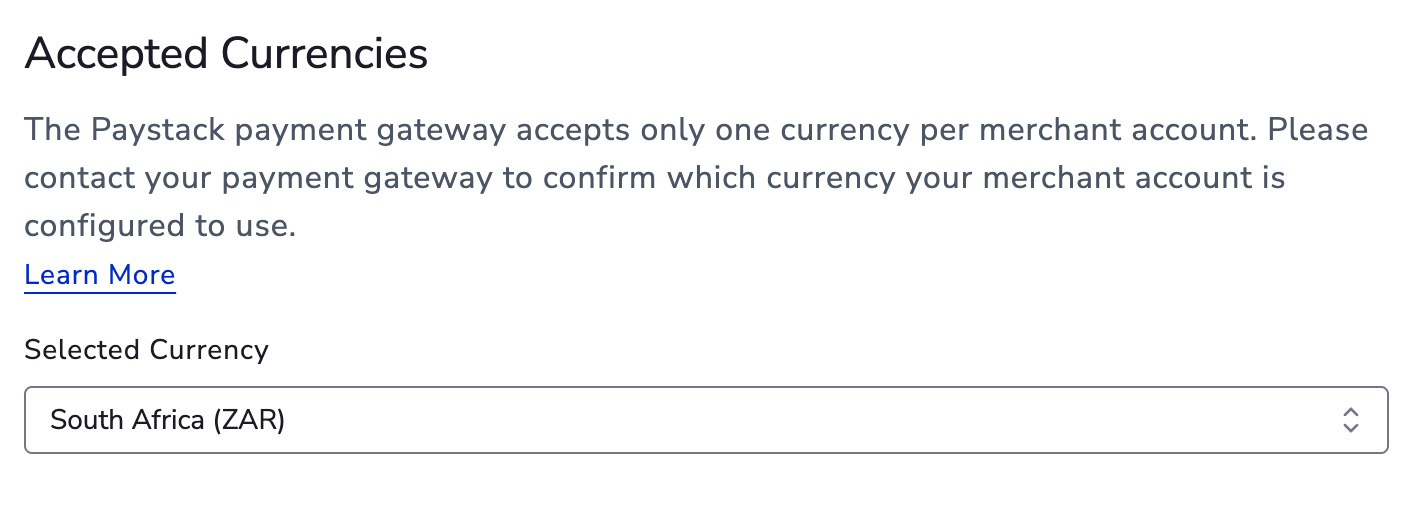
- Set the accepted currencies that your gateway supports for processing transactions.
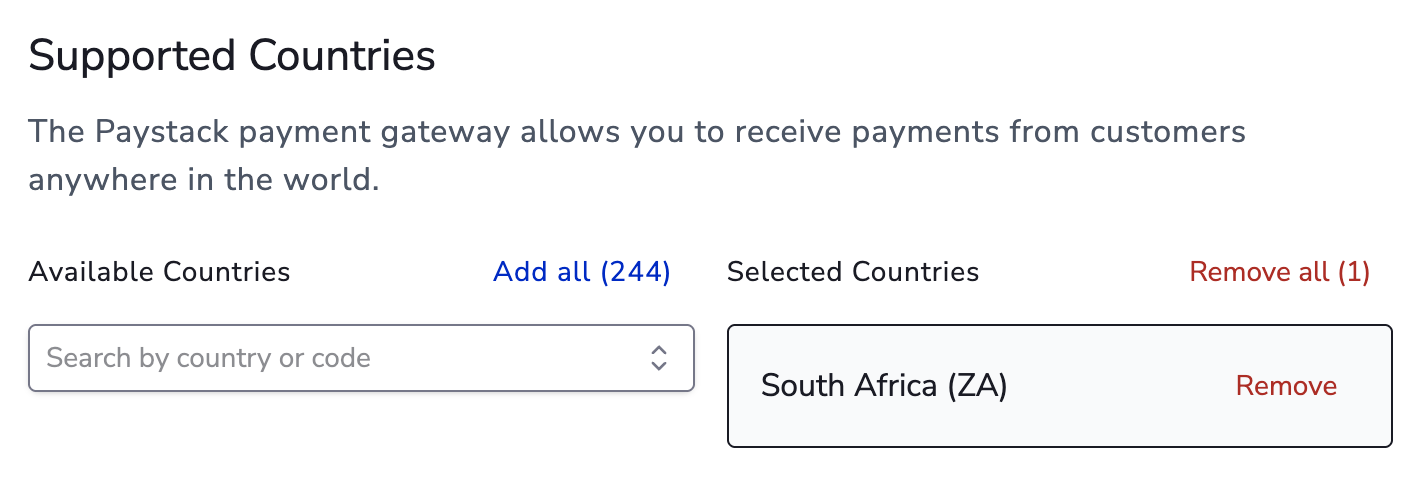
- Set the supported country to match the country where your gateway account is registered.
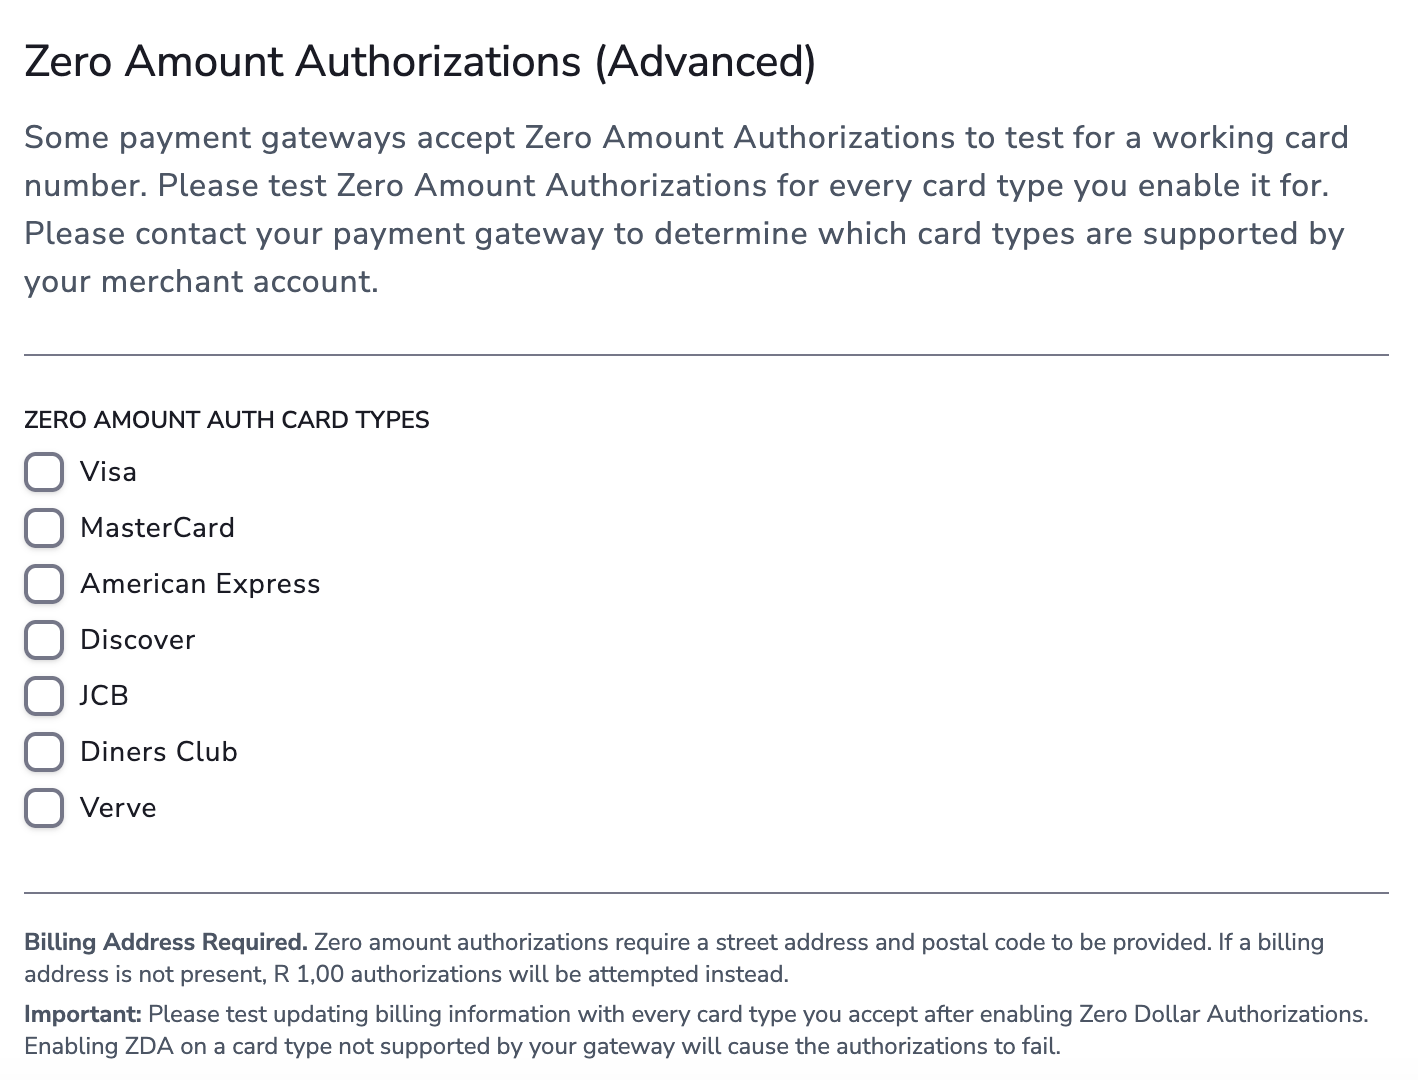
- Configure Zero Dollar Authorization (ZDA) settings if applicable.
Enabling / Disabling a Gateway
A payment gateway can be enabled or disabled at any time. Enter the gateway configure page and toggle the Gateway Status between Enabled or Disabled. By default, a gateway is set to Enabled when first added.
Payment Routing
For accounts with multiple gateways, MyPetParlor App routes transactions based on accepted card type and currency. Transactions are sent to the gateway that was added first.
Switching Gateways
You can switch gateways at any time. Disable the old gateway and enable the new one — MyPetParlor App will automatically funnel transactions to the new gateway as long as it supports the same card types and currencies.
Because the payment gateway stores the card data, switching gateways can prevent existing billing information to no longer work.
Zero Dollar Authorizations (ZDA)
ZDA lets you verify a customer's payment method without placing a temporary hold on their card. This must be enabled on your payment gateway account first — contact your gateway provider to confirm support.